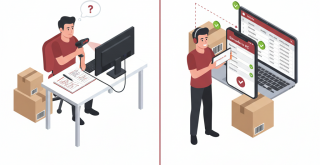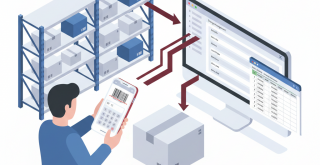

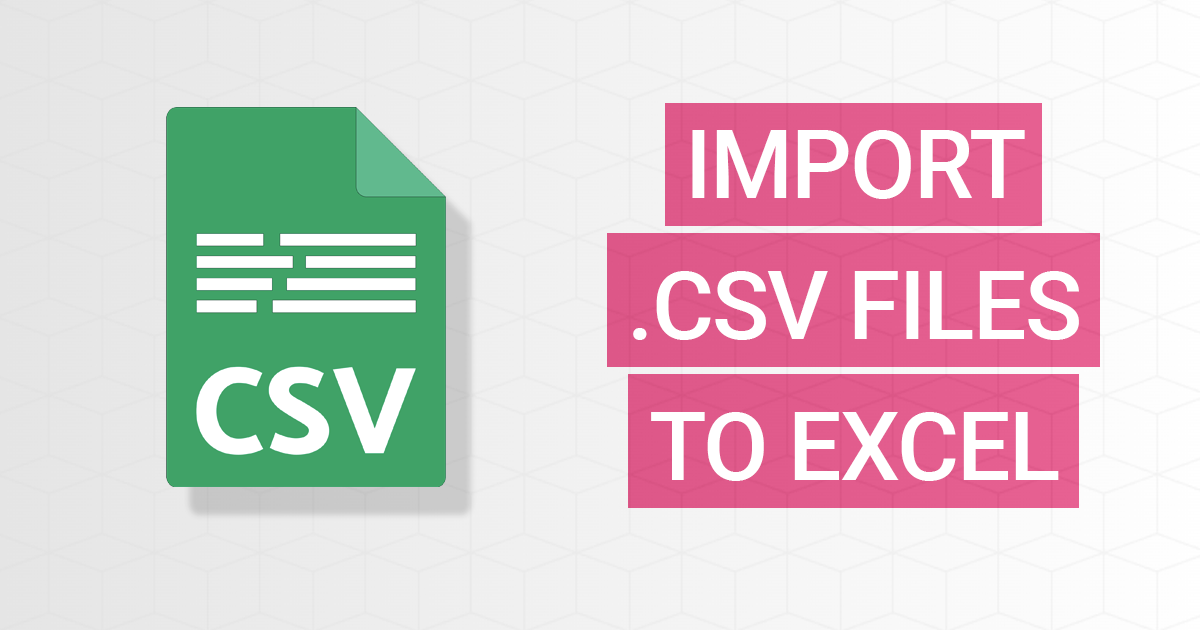
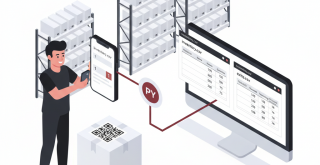
A logistics coordinator at a large food distribution company reached out with a specific challenge: they needed to track product exits from their warehouse while automatically updating inventory levels. Their question was clear: they wanted to use Barcode to PC to scan a product’s QR code, let the user enter the quantity being removed, and then update two separate CSV files (one for current inventory and another for exit history) without manual data entry.
What Does an Automated Inventory Exit System Need?
For warehouse operations, every product that leaves needs to be tracked accurately. The logistics team needed a system that would:
- Scan product QR codes to identify items
- Accept manual quantity input for the amount being removed
- Look up current stock levels automatically
- Calculate remaining inventory after the exit
- Update the main inventory file with new quantities
- Create a historical record of each transaction
Traditional manual entry into spreadsheets is time-consuming and error-prone. The team wanted smartphone-based scanning that could trigger automatic calculations and file updates in real-time.
How Can You Track Product Exits with Barcode Scanning?
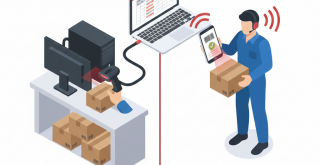
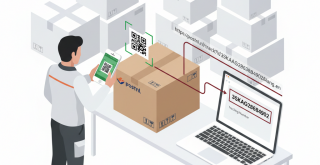
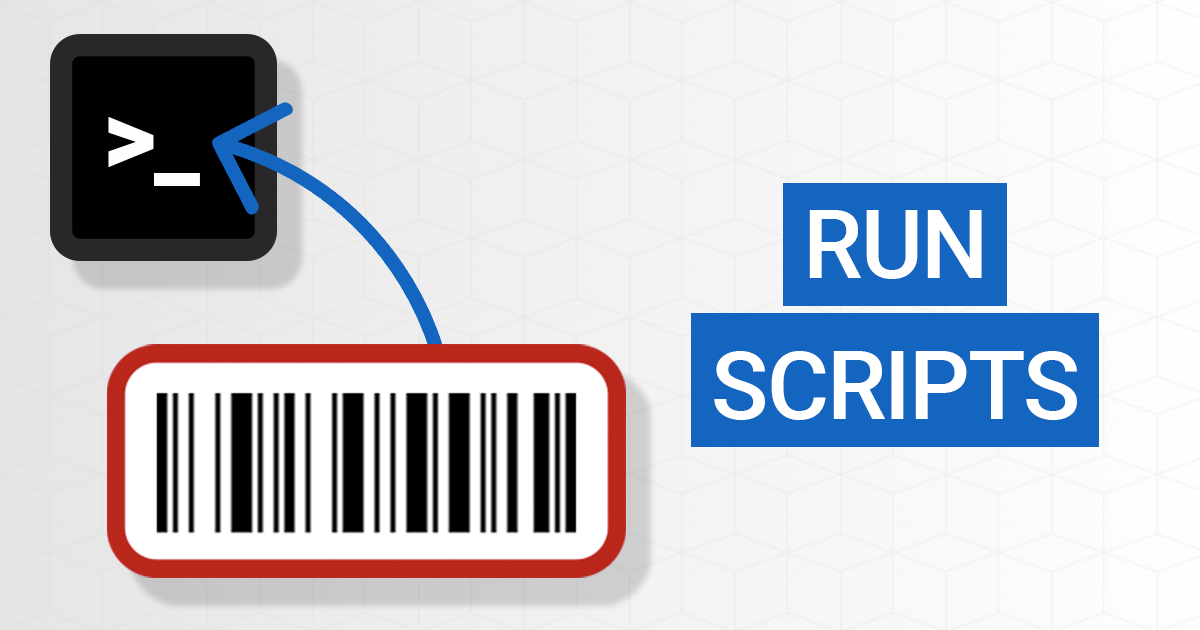
Barcode to PC solves this challenge by combining smartphone barcode scanning with the RUN component, which executes custom scripts on your computer. Here’s the workflow:
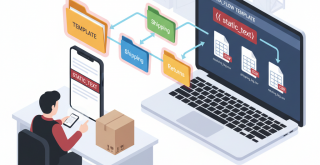
First, create an Output Template with three essential components:
- BARCODE component: Captures the product’s QR code (the unique product ID)
- NUMBER component: Prompts the warehouse worker to enter the quantity being removed
- RUN component: Triggers a Python script that handles all the calculations and file updates
When a warehouse worker scans a product, the app collects the barcode and quantity, then passes these values to your Python script. The script does the heavy lifting: it searches the inventory CSV file for the product, retrieves the current quantity, calculates the remaining stock, updates the inventory file, and appends a new record to the exits log.
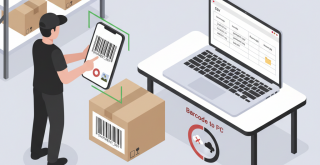
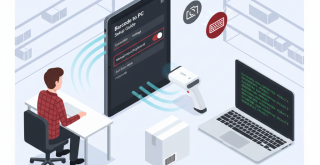
Setting Up the RUN Component for Inventory Management
The RUN component allows you to execute programs and scripts when barcodes are scanned. For this inventory system, you would configure it to call a Python script with the scanned barcode and entered quantity as parameters.
Your command might look like this:
C:\Python\python.exe C:\inventory\update_stock.py {{ barcode }} {{ number }}
The double-curly braces syntax ({{ barcode }} and {{ number }}) injects the values from the previous components into your script. The Python script receives these as command-line arguments and can process them accordingly.
The script would perform these operations:
- Open and read the inventory.csv file
- Search for the row matching the scanned product ID
- Extract the current quantity
- Calculate the new quantity (current minus exit quantity)
- Update the inventory.csv file with the new quantity
- Append a new row to exits.csv with the product ID, previous quantity, exit quantity, and remaining quantity
Why Use External Scripts Instead of Built-in Components?
While Barcode to PC offers components like CSV_LOOKUP and CSV_UPDATE for basic CSV operations, complex workflows involving multiple file updates and calculations are better handled by external scripts. This approach gives you complete control over the logic and can handle edge cases like products not found in inventory or insufficient stock levels.
The RUN component supports multiple programming languages (Python, Node.js, PHP, batch scripts), so you can use whatever technology your team is comfortable with. The script runs on your computer where the Barcode to PC server is installed, giving it full access to your file system and databases.
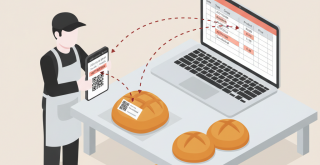
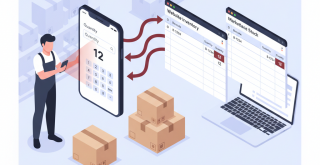
Recording Your Inventory Transactions
Beyond just updating inventory levels, maintaining a detailed exit log provides valuable business insights. Each scan creates a permanent record showing:
- Which products are leaving the warehouse
- How much inventory existed before the exit
- The exact quantity removed
- The calculated remaining stock
- Timestamps for each transaction
You can enhance this further by adding a DATE_TIME component to your Output Template before the RUN component, then including {{ date_time }} in your script parameters. This ensures every exit is timestamped accurately.
If multiple devices are scanning simultaneously, you can also add a DEVICE_NAME component to track which smartphone or PDA device processed each transaction. This is particularly useful for auditing and identifying which warehouse worker performed each operation (by assigning each device to a specific person or workstation).
Getting Started with Your Inventory Management System
To implement this solution, you’ll need:
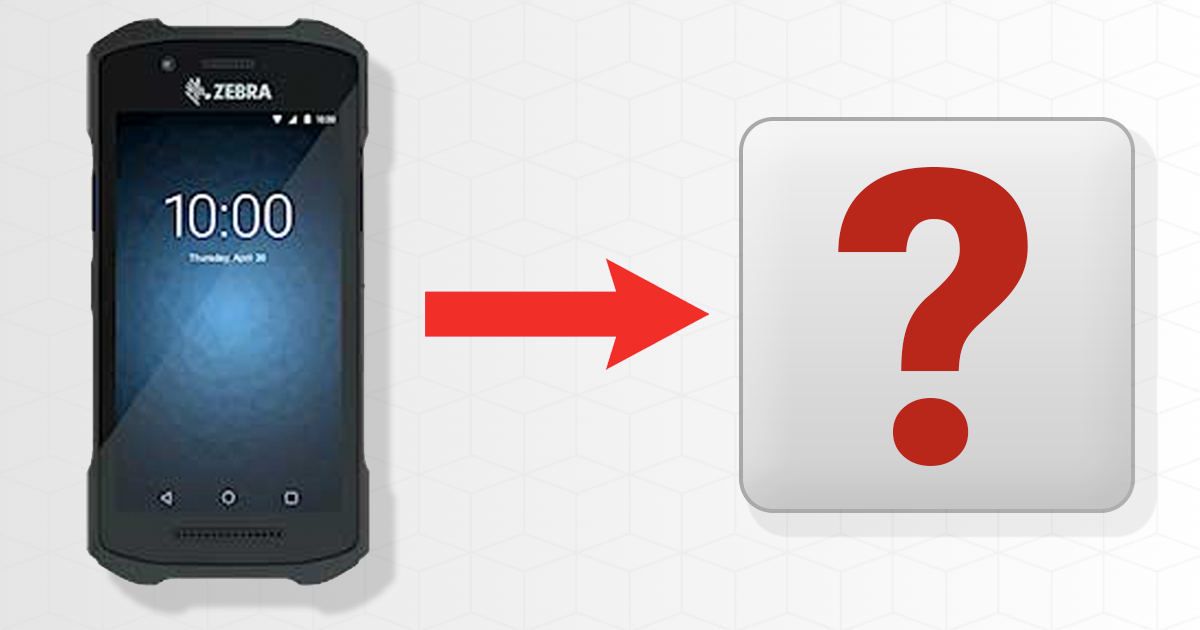
- The Barcode to PC app installed on your smartphones or Android PDA devices
- The Barcode to PC server running on your computer
- Your inventory CSV files structured with product IDs and quantities
- A Python script (or other language) that processes the scanned data
The RUN component is particularly powerful because it integrates smartphone scanning with your existing business systems. Whether you’re managing inventory, tracking shipments, or recording quality control checks, you can build custom workflows that match your exact business requirements.
For detailed documentation on setting up the RUN component and passing variables to your scripts, visit the RUN component guide. You can also explore additional CSV handling options through the real-time CSV append feature, which automatically saves scan data to CSV files without requiring custom scripts for simpler use cases.