How to use the HTTP Output Component
The HTTP Output Component allows you to perform HTTP requests and fetch data from external end-points. The request is performed from the computer once a scan is received from the smartphone.
Example use cases:
- Perform barcode lookups using third-party services
- Obtain other information when a barcode is scanned
- Communicate with e-commerce platforms such as WooCommerce, Shopify, etc. to change the stock quantity, update orders, etc.
☝️ Note: If you only want to open the URL contained in the barcode/QR-Code, then you don’t need the HTTP component, but you just have to enable the “Automatically open Links in browser” option instead.
Parameters
| Parameter name | Description |
|---|---|
| Skip Output |
If enabled, the HTTP output won’t affect the Keyboard emulation and the CSV output. |
| URL |
The URL to use for the request.
You can use the values acquired by the other components by accessing the corresponding variables using the double-curly braces syntax. Available variables (lowercase):
|
| Method |
Is the request method to be used when making the request.
Consult your software/service documentation and set it accordingly. |
| Data |
Is the data to be sent as the request body.
Only applicable for request methods PUT, POST, DELETE, and PATCH. |
| Params |
Are the URL parameters to be sent with the request.
You can either pass them here or in the URL. It must be a valid JSON string. Example: |
| Headers |
Are custom headers to be sent. It must be a valid JSON string.
Example: |
| Timeout |
Specifies the number of milliseconds before the request times out. If the request takes longer than the specified time, the request will be aborted. |
Output
The response body will be used as output for the Keyboard Emulation feature, and for the Append to CSV file option.
The output value will be also stored into the http variable, and can be used inside other components, such as JAVASCRIPT_FUNCTION.
Example
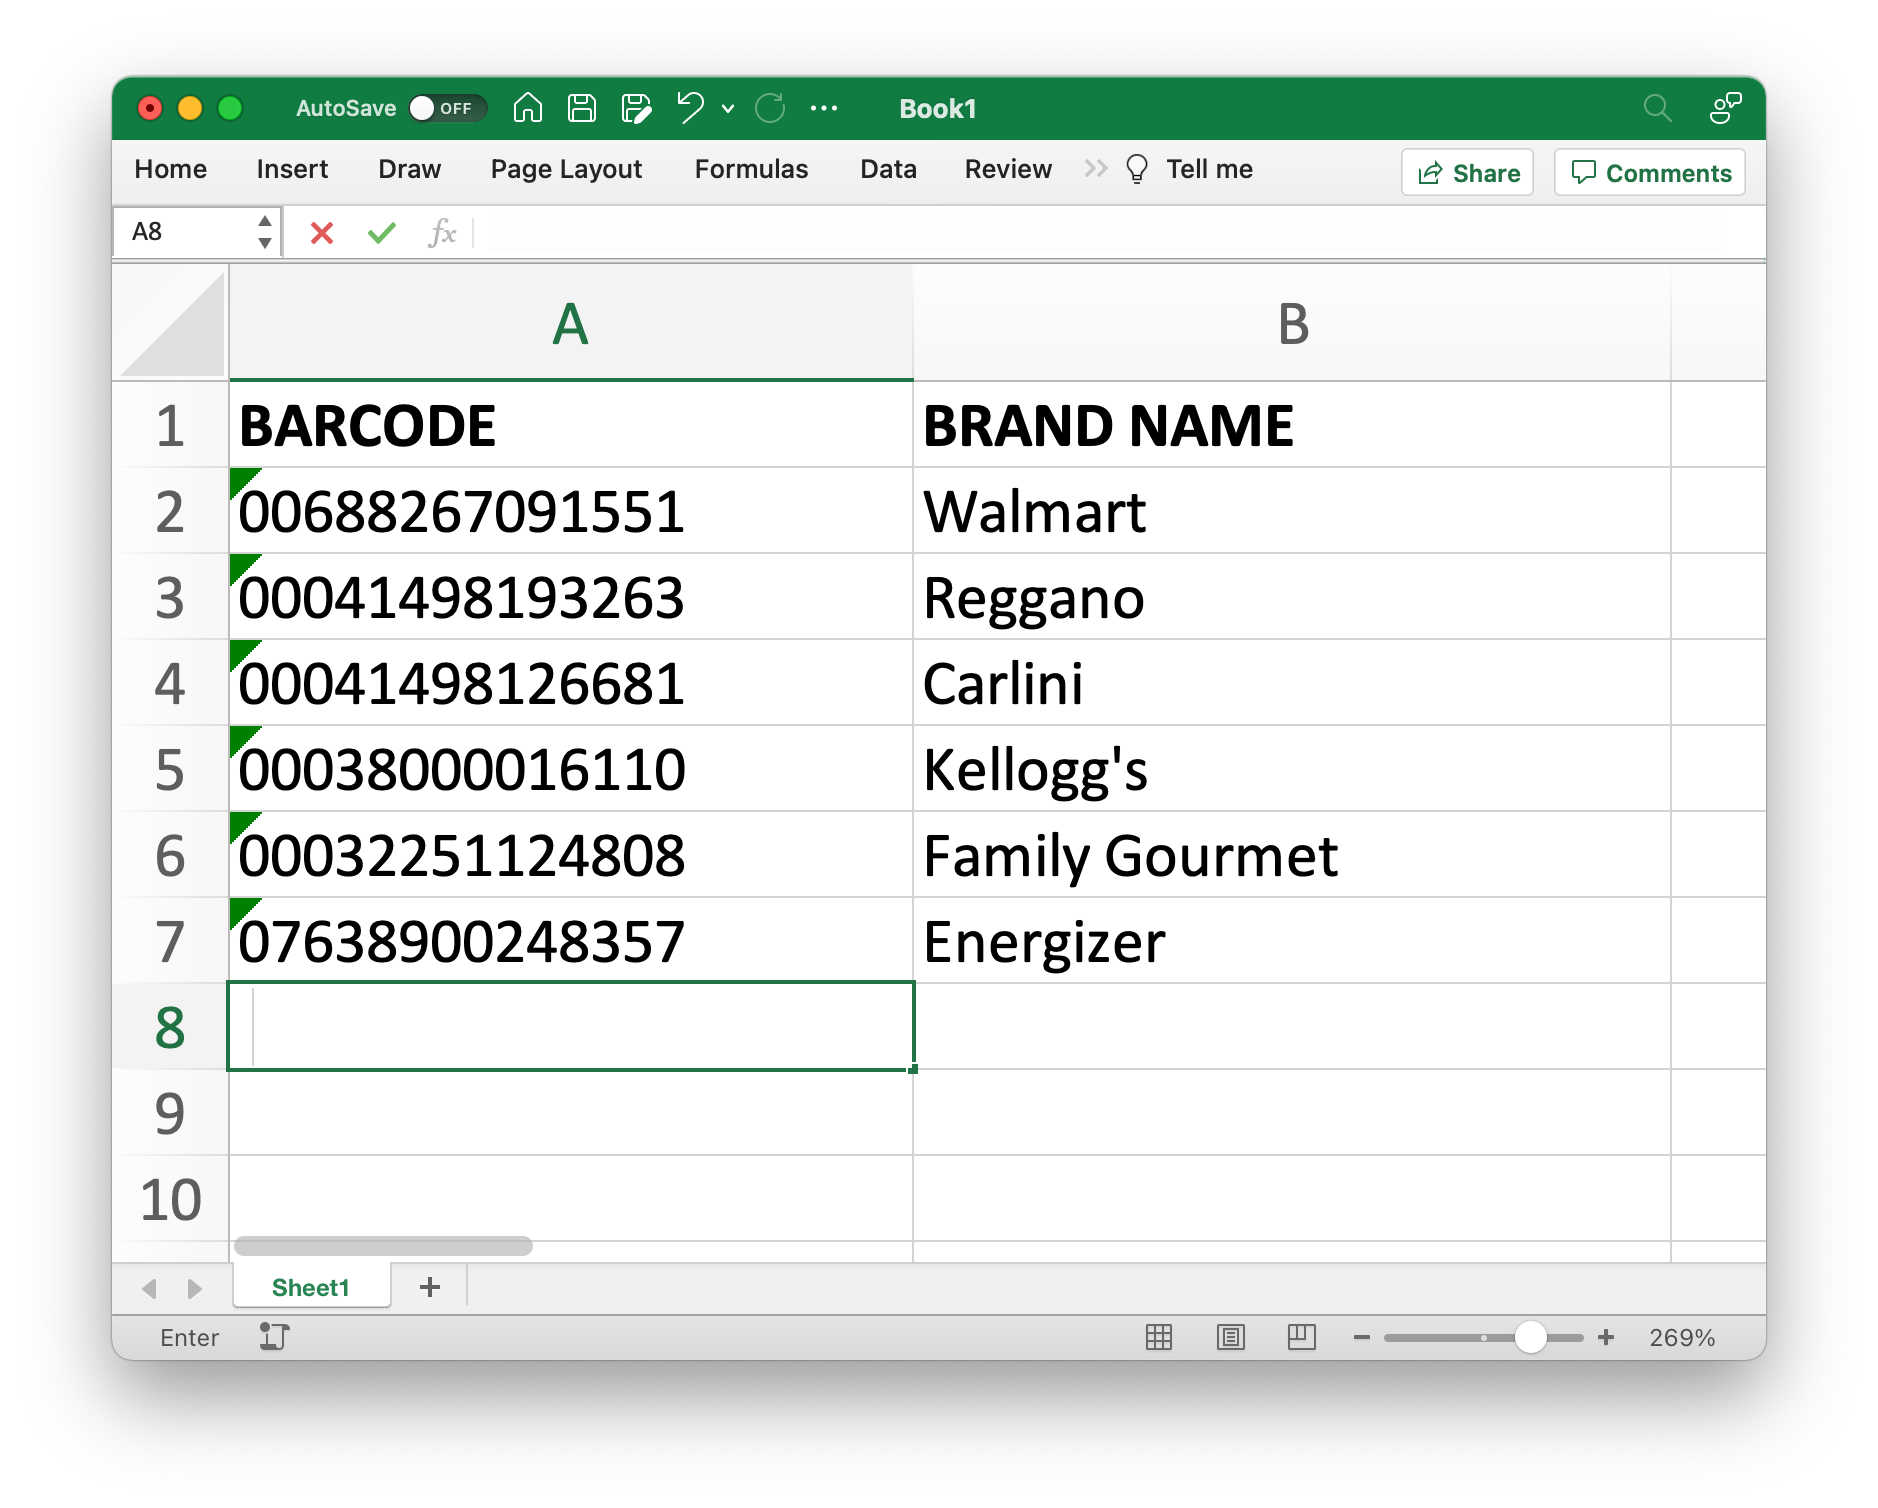
Let’s say that you want to scan a product and put the brand name next to the barcode column, like this:
To do that we’re going to use the free Gtinsearch API Lookup service.
Output Template
The final output template will look like this:

➡️ It contains a BARCODE component to instruct the app to acquire a barcode and store the value inside the
barcode variable
➡️ The TAB component is used to move the cursor to the next cell
➡️ The HTTP component will fetch the data using the following URL: https://www.gtinsearch.org/api/items/{{ barcode }}.
Since the response body will be a JSON document (see example), we need to enable the Skip output option, and extract the data using the JAVASCRIPT_FUNCTION.
➡️ The JAVASCRIPT_FUNCTION component, will extract the data from the JSON fields using this code: JSON.parse(http)[0].brand_name
➡️ The ENTER component is used to move the cursor to the new line
Instructions
To reproduce this example:
- Download the attached Lookup.btpt template
- Double click on it to import to the server settings
- Open the app and select the red scan button
- Select the “Lookup” Output template
Downloads
Tip 😉
If you’re still in the phase of figuring out the request parameters, you can use a software like Insomnia App that has a great user interface for debugging. Once you get it to work, you can copy over the parameters to Barcode to PC.