How Can I Track Items Moving Between Locations Without Scanning Twice?

A warehouse manager recently reached out with a common tracking challenge. Their team was scanning items when they left one location (scanning “out”) and again when they arrived at the next location (scanning “in”). The problem? People would sometimes forget to scan an item out before scanning it in at the new location, leading to incorrect inventory quantities at both locations.
The question was simple but crucial: could the system automatically register an item as “out” from its previous location when scanning it “in” at a new location? Since items never move from one place to another without being scanned in somewhere, these two actions (out and in) are always connected.
Understanding the Inventory Movement Challenge
In warehousing and logistics operations, items constantly move between locations. This could be equipment moving from a truck to a warehouse, tools going from storage to job sites, or products transferring between different departments. Each movement should update inventory records in two places: removing the item from the origin and adding it to the destination.
Traditional double-scanning workflows create several problems. First, they rely on workers remembering to perform two separate scans for every item movement. Second, if someone forgets the “out” scan, inventory records become inaccurate at both locations. Finally, the extra scanning step slows down operations, especially when moving large quantities of items.
Building an Automated Location Transfer System
Barcode to PC solves this with an intelligent tracking system that links location transfers automatically. Instead of requiring two separate scans, warehouse staff only need to scan the item and specify the new location. The system handles everything else behind the scenes.
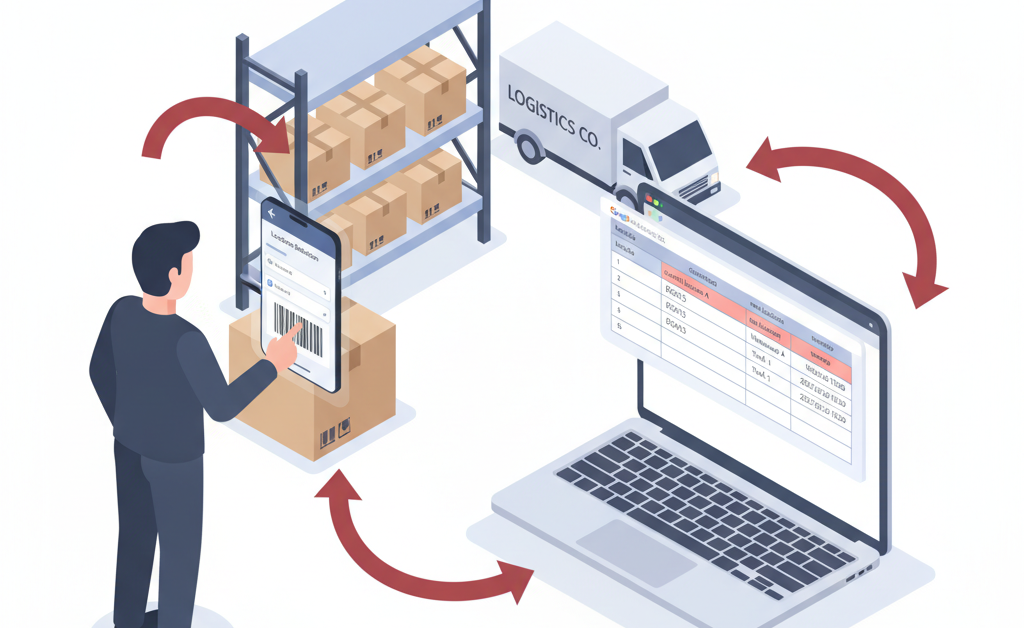
Here’s how the workflow operates. When a worker scans an item barcode, the app looks up the item’s current location in a Google Sheet. The worker then confirms the new destination location. The system automatically updates the spreadsheet by marking the item as “out” from its previous location and “in” at the new location, all with a single scan.
This approach uses Barcode to PC’s GOOGLE_SHEETS component to read the current location and write updates back to the inventory tracking spreadsheet. The entire process happens in real time, keeping location data synchronized across your operation.
Setting Up the Output Template
The solution uses a straightforward Output Template with four main components. Start by adding a BARCODE component to capture the item identifier. This opens the smartphone camera to scan the product barcode or equipment tag.
Next, add a GOOGLE_SHEETS component configured to look up the item’s current location. Set it to search for the scanned barcode in your inventory spreadsheet and return the current location column. This shows workers where the system thinks the item currently is, allowing them to verify accuracy.
Then add a SELECT_OPTION component to let workers choose the new destination location. Configure this with your common locations (Warehouse A, Warehouse B, Truck 1, Truck 2, etc.) for quick selection.
Finally, add another GOOGLE_SHEETS component configured for the update action. This component takes the scanned barcode, finds all matching rows in your spreadsheet, updates the location column to the newly selected location, and adds a DATE_TIME component to timestamp each transfer.
What Happens During Each Scan
When a logistics coordinator scans an item, the app immediately queries the Google Sheet to find where that item is currently recorded. The current location appears on screen, providing instant verification. If the item shows as being in “Truck A” but the worker is actually unloading it from “Truck B,” this alerts them to a previous tracking error that needs correction.
After selecting the new location from the dropdown menu, the GOOGLE_SHEETS component updates the spreadsheet. The component finds the item row and changes the location field to the new destination. Because this happens in real time, anyone else looking at the Google Sheet sees the updated location immediately.
Each scan also records the transfer timestamp. This creates an audit trail showing exactly when items moved between locations. Over time, this data reveals patterns about movement frequency, transfer times between locations, and potential bottlenecks in your logistics workflow.
Benefits Beyond Simplified Scanning
Eliminating the double-scan requirement delivers several operational improvements. Workers complete transfers faster because they’re only performing one scan instead of two. This becomes especially valuable when moving dozens or hundreds of items during shift changes or delivery operations.
Accuracy improves because the system doesn’t rely on workers remembering to scan twice. There’s no way to forget the “out” scan because it happens automatically as part of the “in” scan. This prevents the location discrepancies that occur when items are scanned in at a new location but never scanned out from the old one.
The approach also provides better visibility into item history. Because every transfer includes a timestamp, managers can track how long items typically spend at each location, identify items that haven’t moved in a while, or spot unusual movement patterns that might indicate problems.
Getting Started with Location Tracking
To implement this system, you’ll need Barcode to PC installed on your smartphones and computer, plus a Google Sheet set up as your inventory database. The spreadsheet should have columns for item barcode, current location, last transfer date, and any other item details you want to track.
Configure the GOOGLE_SHEETS component by connecting it to your spreadsheet and specifying which columns to search and update. You can find detailed instructions in the GOOGLE_SHEETS documentation. The SELECT_OPTION component should list all your possible destination locations.
For organizations with more complex needs, you can extend this basic template. Add a NUMBER component to track quantities if items move in batches. Include a TEXT component for workers to add transfer notes or reasons for movement. Use the IF component to create conditional logic that handles different item types differently.